Water line sizing for ADUs is one of those “you don’t think about it until you feel it” parts of a build. If your shower goes soft the second someone runs the washer in the main house, you’re not imagining things. In Austin, we see this a lot with detached backyard ADUs that tie into an older home’s existing service line. The good news is you can usually avoid the whole problem by planning the pipe sizes and route early, before trenching starts and definitely before drywall.
This is the practical, homeowner-friendly version of what we walk through with clients every week at Austin Tiny Homes. You’ll learn what actually causes pressure drop, when 3/4-inch is plenty, when 1-inch is worth it, what PSI you should be aiming for, and what changes when you’re building an off grid tiny house with a pump and storage tank instead of city pressure.
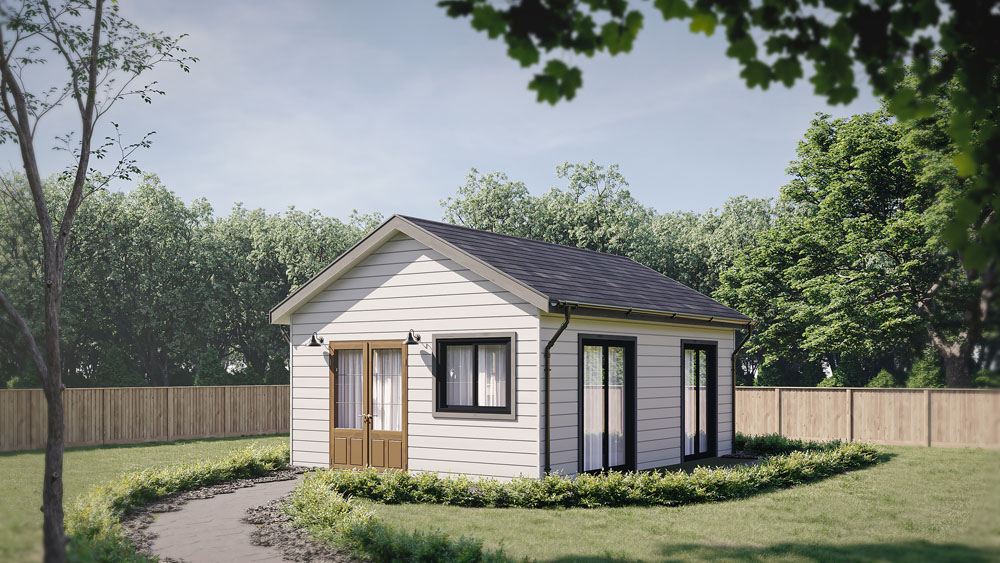
Why water line sizing for ADUs feels harder on detached backyard builds
If your ADU is in the back yard, you’re almost always dealing with distance and shared demand. The ADU might be small, but the plumbing “load” can stack up fast because you still want real-life features: a shower, toilet, lav, kitchen sink, maybe a washer, maybe a dishwasher, maybe a hose bib for the yard.
Now add the usual Austin setup: the ADU ties into the same water service that feeds the primary house. So instead of one household using that line, it’s two. If the original home is older, the service line might already be on the small side for modern living.
One more thing people underestimate is the trench path. The pipe rarely runs in a perfect straight line. It weaves around trees, foundations, existing utilities, and access constraints. That extra length plus a handful of fittings is where pressure disappears.
Water line sizing for ADUs comes down to three pressure killers
You can keep the “why” simple. Most pressure problems in an ADU come from some mix of the items below:
- Pipe diameter: smaller pipe equals more friction loss and less flow available when you need it.
- Simultaneous use: a shower and laundry running at the same time is normal life, not an edge case.
- Run length and fittings: long underground runs, elbows, valves, and manifolds all add resistance.
If you want the plain-English version, think of it like this: you’re trying to deliver a steady volume of water through a long straw. Make the straw longer or narrower and you feel it immediately at the faucet.
Water line sizing for ADUs: quick rules of thumb we use to avoid weak flow
Every property is different, and your licensed plumber should always confirm final sizing using the local code method and your exact fixture schedule. Still, if you want a solid starting point that avoids most of the frustrating “why is the shower weak?” calls, this is where we usually land on Austin-area projects:
- Supply to a detached ADU: 3/4-inch minimum is a common baseline for city water when the run is reasonable and the fixture count is modest.
- Long runs to the backyard: 1-inch often makes sense once you’re around 75 feet or more, or if you expect overlapping usage (ADU tenant plus main house family life).
- Interior trunk line: keep the main distribution inside the ADU at 3/4-inch when it feeds multiple fixtures, then branch out to 1/2-inch at individual fixtures.
- Avoid long 1/2-inch feeds to the whole unit: this is the classic setup that looks “fine” on paper and then disappoints in real life.
If your existing house has a 1/2-inch service line from the meter (it happens in older neighborhoods), adding a second dwelling without upgrading the service is where both buildings can end up fighting over flow. In that situation, the “real fix” is often a larger service line sized for combined demand, not just tweaking the ADU branch.
PSI targets, simple testing, and where PRVs actually help
For comfort, you generally want something like 45 to 80 PSI at the fixtures. Dip below roughly 40 PSI and most people notice it right away at the shower. Go above 80 PSI and you’re putting extra stress on valves, supply lines, and appliances.
If your incoming city pressure is high, a pressure-reducing valve (PRV) can protect your system and keep pressure steady. The part that gets skipped is setup and verification. A PRV that’s installed but never adjusted can leave you with pressure that’s still too high, or oddly low.
What we recommend on a typical build is straightforward:
- Test static pressure at the house before you finalize the plan.
- Test flow under load, not just pressure. Pressure can look decent until you open two fixtures.
- Re-test at rough-in before walls close, while changes are still easy.
If you’re trying to get a feel for how much coordination happens before you ever see finishes, our process overview on the About Austin Tiny Homes page explains how we keep design, permitting, and construction aligned so you’re not solving utility surprises mid-build.
Tankless water heaters can expose sizing problems fast
Tankless water heaters are popular in ADUs because they save space and you don’t lose a closet to a tank. But they can be picky about flow. Many units need a minimum flow rate just to turn on, and if your line sizing or pressure loss puts you right on the edge, you can get lukewarm swings or a heater that cycles on and off during low-flow use.
You don’t need to avoid tankless. You just want your plumber to confirm that the available flow and pressure at the heater will support how you’ll actually use the unit. If your ADU includes laundry or you’re installing a rain-style showerhead, it’s worth double-checking early.
Shared water line setups: where most ADU pressure complaints begin
If you tell us, “The ADU is fine until the main house uses water,” that points to a shared bottleneck. The service line and sometimes the meter are doing their best, but they were never designed to support two full sets of fixtures at once.
Depending on your layout, the best fix might be:
- Running a new, properly sized line from the meter with a clean tee and dedicated route to the ADU
- Upgrading the existing service line if it’s undersized for combined demand
- Reworking the distribution so the “trunk” feeding both buildings is not the choke point
This is also why we treat trenching as performance work, not just digging. Utility routing affects schedule and comfort. If you want a better sense of what’s involved before you commit, browse our latest build notes and planning articles in the Austin Tiny Homes blog.
Off grid tiny house water: you’re building your own “city pressure”
With an off grid tiny house, you’re not relying on municipal pressure that shows up all day, every day. You’re creating pressure with equipment. That usually means a storage tank plus a pump, a pressure tank, and a few smart decisions that prevent short-cycling and annoying pressure swings.
The pipe sizing still matters, but the conversation shifts. Instead of asking, “Is 3/4-inch big enough from the meter?” you’re asking, “Can my pump deliver enough flow at the pressure I want, and can my plumbing distribute it without bottlenecks?”
If you’re budgeting a small build and trying to understand where mechanical systems tend to land, FastExpert’s overview on small-house costs gives a broad sense of how pumps and pressure tanks show up in real-world projects at fastexpert.com. Use it as a starting point, then size your system based on your actual fixtures and your site.
Off-grid pump and pressure tank basics (so your pump doesn’t burn out early)
For a compact tiny home with one bathroom and a small kitchen, a common planning range is a pump around 5 to 10 GPM paired with a pressure tank sized to reduce short-cycling. Short-cycling is when the pump kicks on and off constantly, which is hard on the equipment and feels jittery at the faucet.
A few practical tips that keep off-grid systems livable:
- Don’t choke the trunk line from the pressure tank to your manifold. Even with a strong pump, a small trunk can limit flow when two fixtures run.
- Pick a pressure tank for real use, not just “whatever fits.” Enough drawdown lets you wash hands without the pump firing every single time.
- Confirm tankless requirements if you’re using one. The heater’s minimum flow can become the limiting factor.
Why right-sizing is almost always cheaper than “fixing it later”
It’s tempting to keep the water line scope minimal and hope the city pressure carries you. Sometimes it works. Often it doesn’t, and when it doesn’t, the fixes are rarely fun. Re-trenching a finished yard, replacing an undersized line, or opening walls to rework a trunk line costs more than simply upsizing at rough-in.
If you’re doing early budget research, RenoFi’s ADU cost-per-square-foot breakdown shows how utilities can swing total cost at renofi.com. The takeaway we see locally is similar: your utility plan can be a quiet cost driver, especially on detached backyard builds.
And if you’re specifically thinking about a 400 square foot ADU, this detailed cost discussion on build pitfalls is a useful reminder that behind-the-walls decisions are where expensive mistakes hide. You can read it at reerin.com.
A quick planning checklist before your plumber orders materials
If you want to stay out of pressure-problem territory, bring these questions to your design meeting or pre-construction walk:
- What is your static pressure at the meter? If it’s high, plan PRV placement and settings.
- What size is the existing service line? If it’s 1/2-inch, you may be looking at an upgrade for a two-dwelling setup.
- What’s the real trench distance? Measure the route you’ll actually dig, not the straight line on a survey.
- What fixtures and appliances are you installing? Laundry, dishwasher, and tankless change the math.
- How is the ADU plumbed inside? A properly sized trunk-and-branch layout avoids weak “last fixture” performance.
- Are you testing pressure and flow before finishes? It’s the easiest time to correct course.
Floor plan choices affect plumbing routes and what your “trunk” line has to carry. If you’re comparing layouts, start with our ADU Models page and pay attention to fixture locations. A few feet of smart routing can save a lot of friction loss.
Common mistakes that lead to low pressure (and what you do instead)
Most low-pressure complaints come from a short list of decisions. If you avoid these, you’re already ahead:
- Feeding a detached ADU with a long 1/2-inch line and assuming municipal pressure will cover it.
- Ignoring the main house limitations when the ADU is sharing the same service line and meter.
- Running an undersized interior trunk so the farthest shower gets whatever is left.
- Installing a PRV without commissioning it, then wondering why pressure still feels off.
- Choosing fixtures and equipment first and figuring out water delivery later.
FAQ: Water line sizing for ADUs
Do you always need a 1-inch line for water line sizing for ADUs?
Not always. Plenty of detached ADUs run great on a well-designed 3/4-inch supply, especially on shorter runs with modest fixture demand. A 1-inch line becomes more attractive when the run is long, the property has shared demand, or you want stronger performance during simultaneous use.
Can you tie the ADU into the house plumbing and call it a day?
Sometimes, but you need to confirm your existing service line size, meter capacity, and how pressure behaves when the main house is using water. If your primary home already has pressure drop at peak times, adding an ADU without changes usually makes it worse for both buildings.
What PSI should you target at the shower?
Aim for roughly 45 to 80 PSI at the point of use. Below about 40 PSI, showers often feel weak. Above 80 PSI can be hard on plumbing components and may require pressure regulation depending on your setup.
Will a tankless water heater fix low pressure?
No. Tankless helps with hot water delivery, not pressure. In fact, it can highlight marginal flow because many units need a minimum flow rate to activate consistently.
What’s the off-grid version of “upsizing the water line”?
With an off-grid tiny house, you’re really sizing the pump, pressure tank, and the trunk line from the tank to your manifold. Even a strong pump can feel weak if the trunk is too small or the system short-cycles.
Conclusion: size your water lines for real life, not best-case use
Good water line sizing for ADUs is about protecting your day-to-day comfort. You’re not designing for one faucet at a time. You’re designing for normal overlap: a shower, a sink, a dishwasher, a laundry cycle, and two households living on one lot.
If you want a second set of eyes on your site plan and utility approach, we can help you spot constraints early and avoid expensive do-overs later. Reach out through our contact page at myatxtinyhouse.com/contact and tell us what you’re building and where the ADU sits on the lot.